Electrical Rough-In Installation
iCAN Electricians Services
- Electrical Services
- Aluminum Wire Replacement
- Bathroom Exhaust Fan Installation
- Electrical Circuit Panels, Installation and Replacement
- Electrical Finishing Installation
- Electrical Rough-In Installation
- Electrical Service Panel Upgrade
- Electrical Wiring and Cabling, Installation and Replacement
- EV Charger Installation
- Heated Floor Installation and Replacement
- Home and House Automation Installation
- Inspection and Safety Check, Installation and Replacement
- Light And Blub Fixture, Installation and Replacement
- Motion Sensor Light Installation
- Outlet and Plugs, Installation and Replacement
- Overhead and Underground Electrical Supply
- Pot Lights and Recessed Lighting, Installation and Replacement
- Security Camera Installation
- Smart House Installation
- Smoke and Carbon Monoxide Alarms, Installation and Replacement
- Strip Light Installation
- Bathroom Exhaust Fan Repair
- Electrical Circuit Panels Repair
- Electrical Emergency Repair
- Electrical Wiring and Cabling Repair
- EV Charger Repair
- Home and House Automation Repair
- Light And Blub Fixture Repair
- Motion Sensor Light Repair
- Outlet and Plugs Repair
- Pot Lights and Recessed Lighting Repair
- Security Camera Repair
- Smart House Repair
- Smoke and Carbon Monoxide Alarms Repair
- Strip Light Repair

Electrical Rough In Installation - iCAN Electricians
Have you ever heard of rough in installation? If not, don’t worry. We at iCAN Electricians know all about it and want to share what we know with you! Rough in installation is an important part of the electrical wiring process that requires careful consideration when designing and installing a home or business’s electrical system. We’ll break down the basics of rough in installation so you can understand why it’s such a crucial component of your project.
We here at iCAN Electricians have been providing high-quality service for years now and are experts when it comes to this type of work. Our team has extensive experience in rough in installations and knows exactly how to ensure that they are done safely and professionally. So if you’re looking for help with any aspect of your electrical wiring needs, trust us to get the job done right!

So whether you’re completely new to rough in installation or just need some advice on getting started, stick around to learn everything there is to know about this essential step towards completing any successful electric wiring project. Let’s dive into it!
What Is Rough-In Electrical Work?
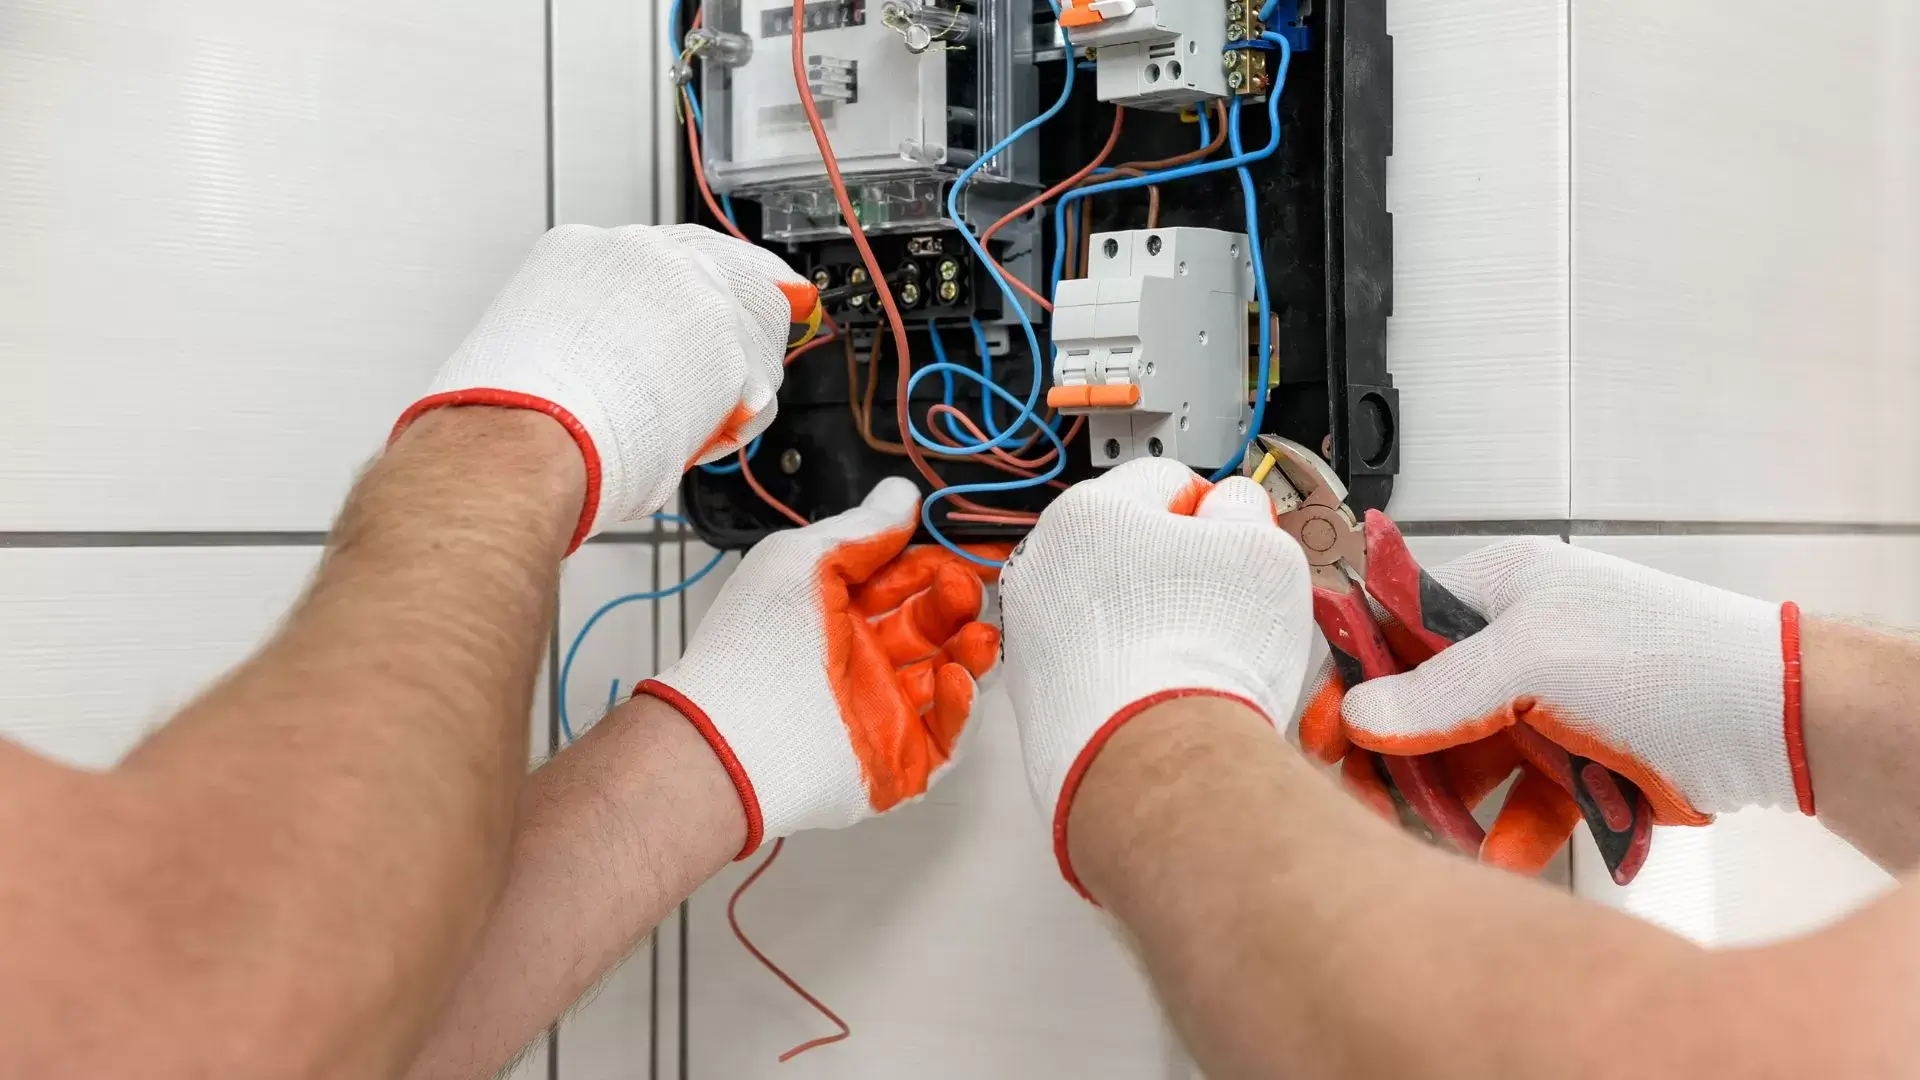
Rough-in electrical work is a critical task in the installation of any wiring system. It’s done prior to the final stage of installing outlets, light switches and fixtures. During this process, we run wire between joists or studs, drill holes for cable runs, install junction boxes and connect conduit piping where needed. This is all done before wall surfaces are finished with sheetrock or other materials.
The purpose of rough-in electrical work is to lay out the foundation for an efficient wiring system that meets all safety codes and regulations. We make sure no wires are exposed and everything is securely connected so it won’t be easily damaged down the road. Doing this kind of work properly helps ensure a safe operating environment for years to come.
With the basics of what rough-in electrical work entails out of the way, let’s move on to discuss preparation for such installations.
Preparation For Rough-In Installation
Now that you understand the basics of rough-in electrical work, it’s time to prepare for installation. Preparing for a successful installation requires knowledge and skill combined with planning and attention to detail. Here are some essential steps in getting ready:
- Do research into local codes and regulations;
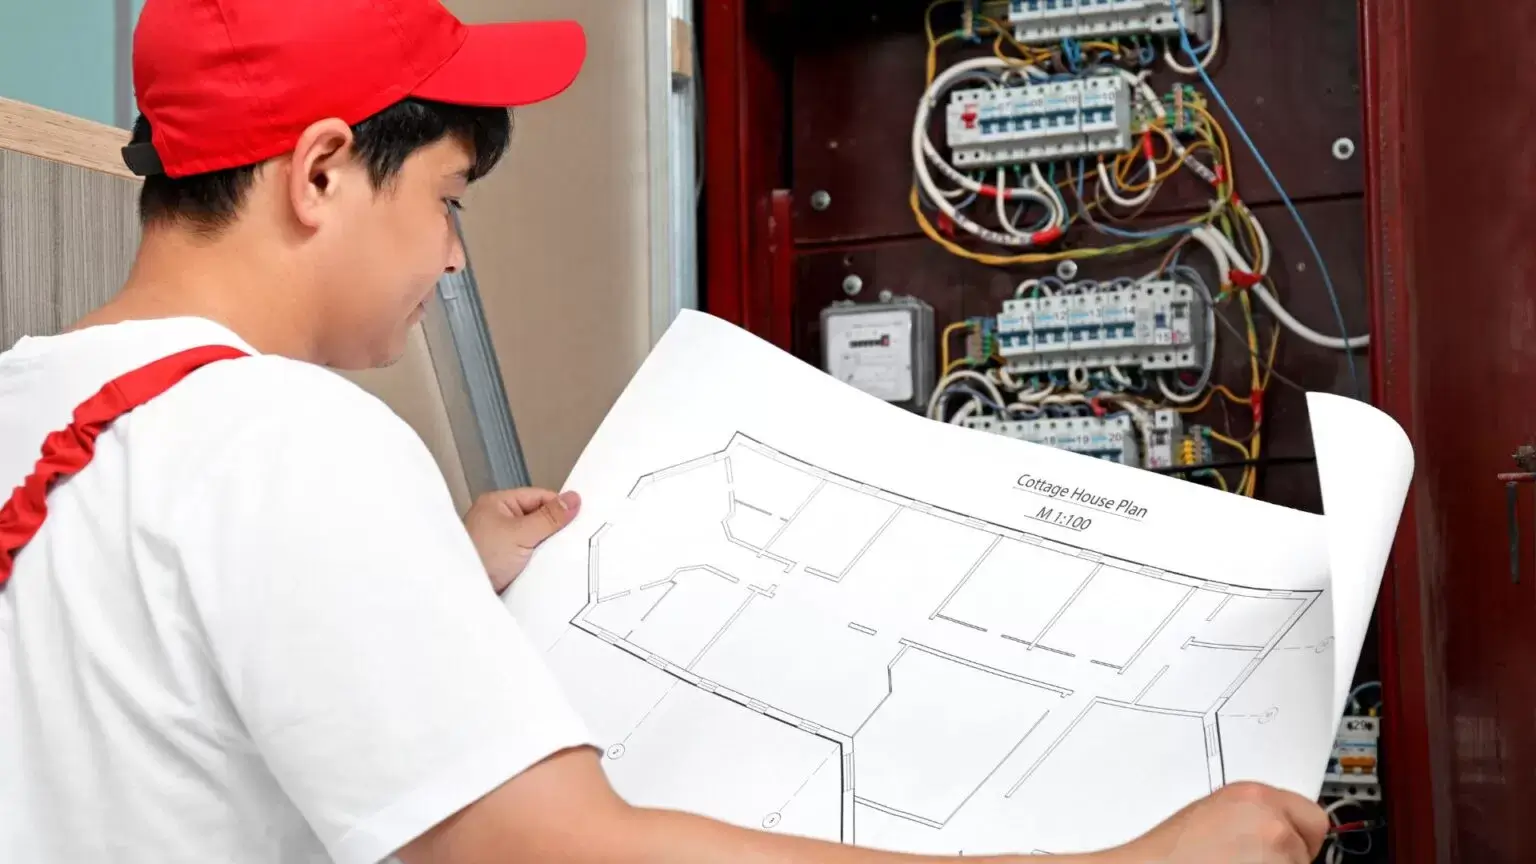
- Check wiring diagrams and blueprints to ensure accuracy;
- Gather all necessary tools and supplies;
- Test the area where you will be working;
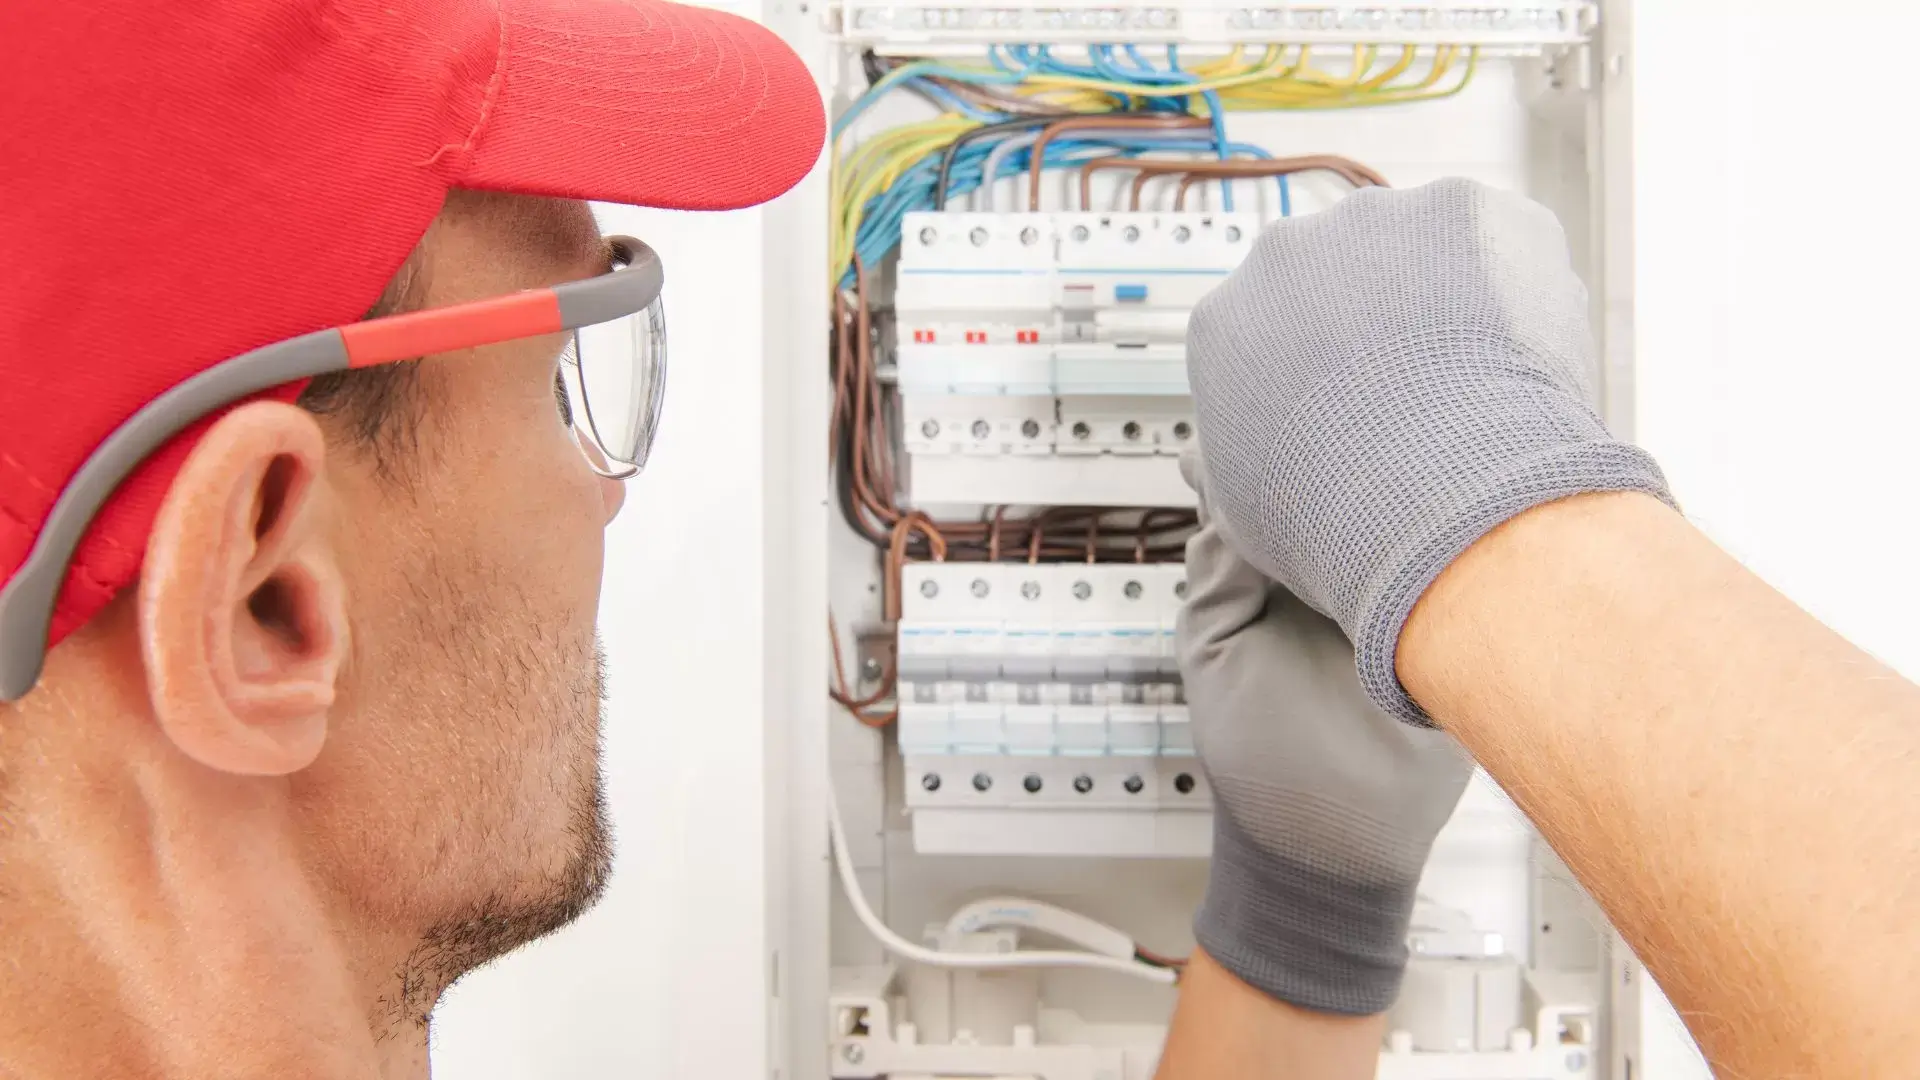
- Wear safety gear such as gloves, goggles, or respirators when needed.
It is also important to take measurements at least twice during preparation so that components fit correctly before finalizing any connections. This will help avoid costly mistakes down the line. Additionally, check your devices thoroughly beforehand to make sure they aren’t damaged from shipping or storage. With this crucial step taken care of, you can feel confident moving on to the next stage: types of electrical wiring used in rough-ins.

Types Of Electrical Wiring Used In Rough-Ins
When it comes to rough-in installation, there are several types of electrical wiring that can be used. The type of wiring you’ll use depends on the specific application and what materials are being connected together. Here is a breakdown of some common types of wiring:
Romex® Wire:
This is a two or three conductor cable with an outer sheathing designed for interior applications such as walls, floors and ceilings. It typically consists of two insulated conductors along with one bare ground wire.
Armored Cable (BX):
Also known as BX cable, this type of wiring includes an armored metal jacket which helps protect against physical damage from nails, screws and other sharp objects. It’s often used in commercial settings but can also be found in residential applications where extra protection is needed.
Nonmetallic Sheathed Cable (NM):
NM cable has been around since the 1930s and is still commonly used today. It features two or more insulated conductors wrapped in a plastic sheath which provides additional protection against moisture and corrosion. Due to its ease of use, it’s one of the most popular types of wiring used in both new construction projects as well as remodels/repairs.
In each case, proper installation techniques must be followed to ensure safe operation when electricity is flowing through these wires. With knowledge about the different types of electrical wiring available for rough-ins, let’s take a look at the basic tools needed for completing your project successfully .
Basic Tools Needed For Rough-In Installation
Now that we have gone through the different types of electrical wiring used in rough-in installations, it’s time to talk about what basic tools you need. In order to successfully complete this type of installation, there are a few essential items that no electrician should be without.
First off, you’ll want an assortment of screwdrivers and pliers for loosening and tightening nuts and bolts. You’ll also need wire strippers for cutting cables and stripping away the insulation from wires before connecting them together. A drill with various sized bits is required as well for making holes in walls or other surfaces. Electrical tape is necessary for covering up exposed wiring connections so they don’t short out, while cable staples can help keep your wires organized behind walls and ceilings. Finally, safety glasses will protect your eyes during any drilling or sawing activities.
In addition to these basics, having specialty tools like voltage testers, hole cutters, conduit benders, and more make any project run smoother. Of course these aren’t absolutely necessary but they certainly come in handy when installing boxes and outlets.
Installing Boxes And Outlets
Installing boxes and outlets is a critical step in the rough-in process. It’s important to make sure everything fits properly and that all connections are secure. I start by measuring out the area for each box or outlet. This includes making sure there’s enough space between them so they don’t interfere with other electrical components, like switches and light fixtures.
To ensure proper installation of the boxes and outlets, I always use mounting screws as specified by the manufacturer. These should be long enough to securely attach the device without putting too much stress on it. Once installed, I check to make sure all wires are connected correctly and no bare copper is exposed. That way, when power is applied later on, nothing will short circuit.

Running Cables And Wires
Now that the boxes and outlets are installed, it’s time to move on to running cables and wires. To put it another way, we’re going to connect everything up. Here is a list of what needs to be done:
1. Pulling wire through conduit or raceways
2. Connecting wiring devices such as switches and receptacles
3. Wiring junction boxes
It’s important when running cable and wires that you route them in an organized manner so they can be easily followed later down the road if any changes need to be made in the future. When installing electrical cables, make sure not to overload circuits by overloading them with too many wires. It’s essential that you follow local codes for installation and safety standards when connecting all data lines, power lines, coaxial cables, etc., together in each wall box. With these steps complete now we’ll move onto connecting switches and receptacles!
Connecting Switches And Receptacles
Once the boxes are secured, it’s time to connect switches and receptacles. I start by connecting all of the wires to the switch or receptacle according to their colors and sizes. Then I use twist-on connectors to join them together securely. After that, I’ll attach each wire with a screw on the device itself.
To ensure everything is connected correctly, I’ll test continuity between each device and its corresponding terminals using a multimeter. This allows me to identify any potential problems before they become major issues down the road. With this step complete, I’m ready to move on to installing fixtures and appliances in the space.
Installing Fixtures And Appliances
Now that we’ve connected the switches and receptacles, it’s time to put those wires to good use by installing fixtures and appliances. It’s like putting together a puzzle – one piece at a time!
We’ll be wiring up lights, fans, smoke detectors, doorbells and more. This step is all about accurately connecting the electrical components without fire or shock hazards. We’ll utilize our knowledge of voltage drop calculations for safe installations. Now let’s take our skills a step further by testing the electrical system before calling it quits.
Testing The Electrical System
Once the rough-in installation is complete, it’s time to test the electrical system. We carry out a series of tests on both the wiring and appliances connected to ensure everything is working correctly. This includes testing for proper grounding, voltage levels and conductivity readings. It’s important that these tests are done accurately as even minor discrepancies can lead to dangerous situations down the line.
We also run continuity checks on each conductor in order to verify their integrity and make sure there are no shorts or exposed wires present. If any issues are found we take steps to rectify them before moving onto the next stage of installation. By doing this thorough testing upfront, we can ensure a safe and efficient functioning electrical system now, and into the future. With that assurance in mind, let’s look at some of the advantages of using professional electricians.

Advantages Of Professional Electricians
When it comes to installing electrical systems, there’s no substitute for professional electricians. Sure, you can do some of the work yourself, but with a little help from an experienced pro, you get far more than just better results—you also get peace of mind and safety. Here are a few advantages that come with hiring one:
Knowledge & Experience: Electricians have extensive knowledge and experience in everything related to wiring, electricity, codes requirements etc., so they know exactly what needs to be done safely and correctly.
Safety: Hiring a qualified electrician ensures that your home is safe from fire hazards or electrocution caused by incorrect installation. This means less risk of having costly repairs down the line due to improper installations.
Time-saving: Professionals will save time by doing the job quickly and efficiently without any guesswork on your part. Plus, if something goes wrong during the process, they’ll take care of it right away instead of having you troubleshoot complicated problems alone.
Professional electricians provide many benefits including expert advice and assurance that all work is up to code which offers huge peace of mind when tackling major projects such as rough in installation. With their reliable services and years of experience, you can rest assured that the job will be done properly – saving you money in the long run too! That said, safety should always come first when dealing with electricity – which brings us nicely into our next section about essential safety tips for installing electrical systems…
Safety Tips For Installing Electrical Systems
Installing electrical systems can be a tricky process, and it’s important to follow safety protocols to avoid potential hazards. One of the most important tips we have is to always verify the power source before beginning any installation work. This means checking that all circuits are properly labeled and de-energized before you start working on them. Additionally, ensure that your tools are in good condition and regularly tested for proper operation.
Protective gear should also be worn when handling live wires or equipment. It’s essential to wear insulated gloves, hard hats, hearing protection, eye protection, and other protective clothing while working with electricity. Following these simple steps will help keep you safe during rough in installations!
With these safety measures in place, our electricians feel comfortable tackling even the toughest jobs. We believe that taking proactive steps to protect ourselves and our customers is key to providing quality service each time. Next up: exploring the benefits of working with iCAN electricians!
Benefits Of Working With iCAN Electricians
As discussed previously, safety is of the utmost importance when it comes to electrical system installations. This is why many homeowners prefer to hire a professional electrician for their rough-in installation projects. Working with iCAN Electricians offers several benefits that can make the entire process easier and safer.
For instance, our team of experienced professionals have been in business for more than 20 years and are fully licensed and insured. We use only top quality materials from trusted brands so you know your project will be done right the first time. Plus, we provide free estimates and guarantee all of our work – giving you peace of mind knowing that your job will be finished on budget and on schedule.
Our attention to detail ensures that every step of the rough-in installation process meets local codes and regulations while helping you avoid costly mistakes or future problems down the road. With iCAN Electricians working on your project, you’ll get an expertly installed system that works safely and efficiently for years to come. Now let’s discuss some common mistakes to avoid in a rough-in installation…
Common Mistakes To Avoid In A Rough-In Installation
As an electrician, it’s important to be mindful of common mistakes when doing a rough-in installation. First and foremost, make sure that the wiring you are working with is the correct type for the job at hand. This includes making sure that wire size and gauge match what is specified in your plans or blueprints. Additionally, ensure there’s enough slack for all connections so they can fit comfortably without being overly tight or too loose.
It’s also important to double check that every box placed meets code requirements before securing it in place. Boxes should never be recessed into walls more than 1/8 inch as this could interfere with insulation around them which will ultimately cause problems down the line. Similarly, always secure boxes firmly using appropriate screws to prevent any movement due to vibrations over time. By taking these precautions during a rough-in installation, you can help ensure successful completion of the job.
How To Troubleshoot An Unsuccessful Installation
The smell of a burning wire is like the sting of failure. It serves as an unfortunate reminder that something has gone wrong in a rough-in installation. Troubleshooting an unsuccessful installation requires patience and precision, but it can be done with proper care and attention to detail.
First, take a step back and assess what went wrong during the installation process. Did you use the right parts? Was everything connected properly? Are there any loose connections or broken wires? Once you have identified potential issues, it’s time to start troubleshooting them one at a time. Make sure all wires are tightly connected, check for shorts or breaks using an ohmmeter, and test each circuit individually if possible. If necessary, consult with an experienced electrician before attempting any repairs on your own.
Once you’ve identified and fixed the problem areas, make sure to double-check your work before turning on power again. This may involve rewiring certain components or replacing faulty outlets – whatever it takes to ensure safe operation of the system going forward. Taking this extra precaution will help prevent future problems from arising and keep everyone involved safe from harm. With these tips in mind, now you’re ready to wrap up your successful rough-in installation!
Wrap Up
We’ve come to the end of our rough in installation. We’ve worked hard and it’s been a success! Everything is ready for the next phase of electrical work: installing fixtures, switches, outlets and other components.
It’s important that all safety procedures were followed throughout this job; this will ensure that everyone stays safe as we move forward with any future projects. So overall, I’m proud of what we accomplished here today and am confident that our efforts will lead to successful completion of the entire project.
iCAN Electricians Services
Frequently Asked Questions – Electric Rough In Installation Near Me
What Is The Cost Of A Rough-In Electrical Installation?
Figuring out the cost of a rough-in electrical installation can be tricky. It depends on several factors, such as the type of wiring needed and whether additional materials are required. But generally speaking, it’s important to budget for at least one day’s worth of labor from an electrician. This will usually include the cost of supplies and any necessary permits or licensing fees too.
When you factor in everything that goes into a rough-in electrical installation, there is no single price that fits all scenarios. The size of your space and what needs to be done with it will determine how much time and money must be invested in order to complete the job correctly. That said, it’s always best to contact our licensed electrician who can provide an accurate quote based on their assessment of your project. Doing so ensures that you get the most value for your investment while also staying safe when dealing with electricity!
What Qualifications Are Needed To Complete A Rough-In Installation?
It’s like a jigsaw puzzle; the qualifications needed to complete a rough-in installation must fit together perfectly. From dealing with intricate wiring diagrams, to expertly handling high voltage circuits – having the right qualifications is essential for any successful electrical project.
Here are some of the key requirements that electricians need in order to safely and effectively carry out this type of job:
* Knowledge of National Electrical Code (NEC)
* Understanding local building codes
* An approved apprenticeship program
No matter how experienced an electrician may be, it’s important they stay up to date on all relevant safety regulations and industry standards. This ensures their work meets legally required guidelines, as well as providing peace of mind for both client and contractor alike. After all, when it comes to electricity, there can be no room for mistakes!
How Long Does A Typical Rough-In Installation Take?
When it comes to completing a rough-in installation, the amount of time required can vary. Depending on factors such as the size and complexity of the project, an experienced electrician might take anywhere from a few hours up to two or three days to complete the job.
Depending on their qualifications and experience level, some electricians may be able to complete certain types of installations more quickly than others. For example, a contractor with extensive knowledge in wiring may be able to finish off a basic residential electrical set-up much faster than someone who is new to the trade. On average though, most jobs tend to require at least one full day’s work for completion.
No matter how qualified they are though, all electricians need appropriate tools and resources when undertaking any type of rough-in installation. Without these items, they won’t be able to perform the necessary steps needed in order for them to get the job done properly and safely.
What Is The Difference Between A Rough-In Installation And A Finish Installation?
A rough-in installation and a finish installation may be two sides of the same coin, but there are some notable differences between them. Just like an iceberg has far more submerged beneath its surface than what is visible to us above water, these installations differ in scope and complexity beyond what meets the eye.
Rough-in installations involve laying down electrical infrastructure such as wiring, conduit systems and junction boxes before the walls are closed up. This process is often referred to as ‘pre-wiring’ because it takes place prior to finishing work on a building or home. Finish installations are all about connecting those wires to switches, outlets, lighting fixtures and other appliances after the walls have been finished. It’s fair to say that one cannot exist without the other – they go hand in hand like peanut butter and jelly!
In short, rough-in installations provide the backbone for power delivery while finish installations enable people to access electricity safely from various points around their homes or buildings. Without both processes being completed carefully and correctly, neither can function properly or safely – so it’s essential that each step is taken seriously with help from professional electricians who know exactly what they’re doing!
Are There Any Additional Safety Measures I Should Take When Doing A Rough-In Installation?
When doing a rough-in installation, there are definitely some additional safety measures I should take. To begin with, it’s important to ensure that all wiring is done in accordance with local electrical codes and regulations so as not to put myself or anyone else at risk of shock or fire hazards. Additionally, I need to make sure I have the proper tools for the job — such as wire strippers, screwdrivers, and pliers — in order to safely complete the installation.
It’s also essential that I wear protective clothing while working on any type of electrical project. This includes work gloves, long pants, closed-toe shoes, and glasses or goggles if needed. Furthermore, since electricity can be unpredictable by nature, I want to stay alert and aware of my surroundings; this means avoiding distractions from outside sources like loud music or conversations. Taking these extra precautions will help me avoid potential injuries when tackling a rough-in installation.
Ah, the joys of a rough-in installation! It’s not an easy job, but it sure can be rewarding. After all, nothing says success quite like flipping on that light switch and seeing everything come to life. But before you get ahead of yourself and start dreaming of your finished product, let’s talk about what goes into a successful rough-in installation – from cost to safety precautions.
First off, when looking at costs for this type of project, don’t forget to factor in any needed qualifications or certifications required for completion. And although I may want my new electrical system up and running as quickly as possible, realistically speaking it could take several hours or even days depending on the size of the job.
Additionally, there are certain differences between a rough install and finish install which should also be taken into account prior to beginning work. Finally, no matter how experienced I am with these types of projects – always remember that following proper safety measures is essential when dealing with electricity. Contact us today for any of your rough-in projects
